In this post we'll show step by step the installation of Linux Mint Debian Edition, which is a bit simpler than installing Debian Testing "Wheezy", the distribution it's based on. To complete this tutorial you'll need internet access, a blank or rewritable CD or a pendrive, and a little patience.
So, you who want to set Windows aside and use a real operating system, or you who already use Linux but are fed up with Ubuntu, how about some Mint Linux?
Shall we?
Installing Linux Mint Debian Edition 201204
The first step is to download the ISO image of the LMDE installation CD. To do this, go to the www.linuxmint.com site, select download and Linux Mint Debian, or click here to go directly. Under important links, select MATE/Cinnamon for Gnome 2 and 3 respectively, or Xfce for the Xfce Desktop. There are 32 or 64 bit options. In my case I chose Gnome and 64 bit.
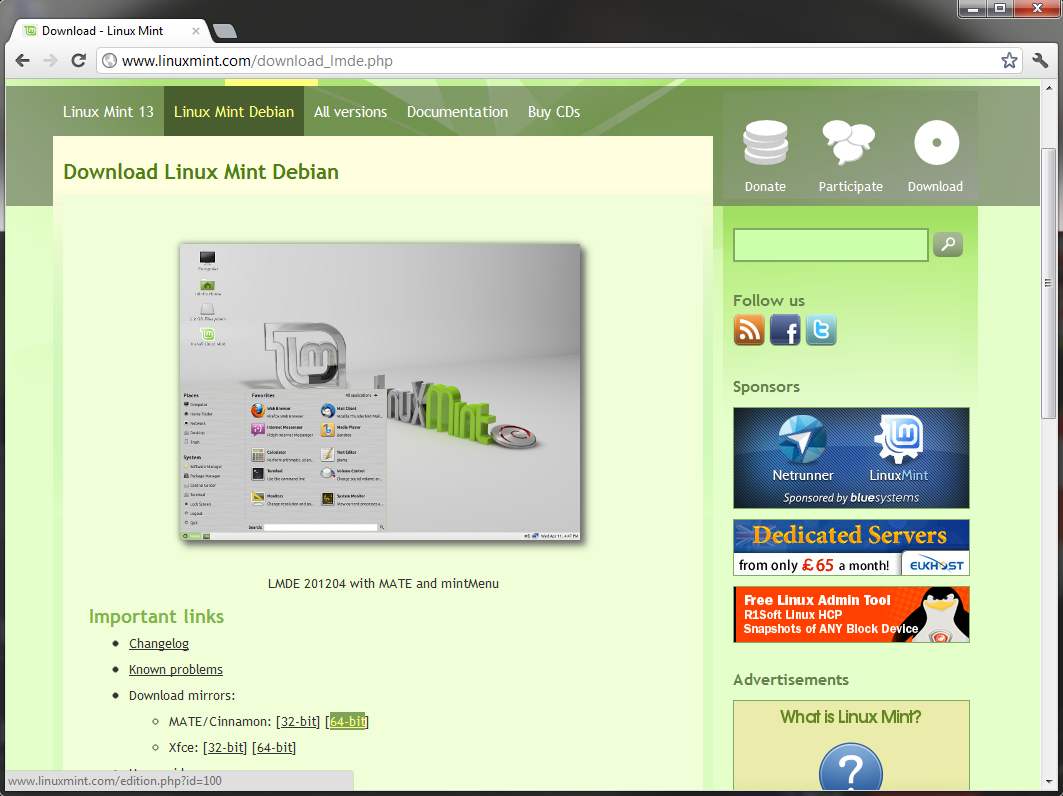
Downloading Linux Mint Debian Edition.
On the next page you can choose a closer mirror to download via http or torrent. I chose torrent to ensure the integrity of the download since torrent verifies the file's md5.
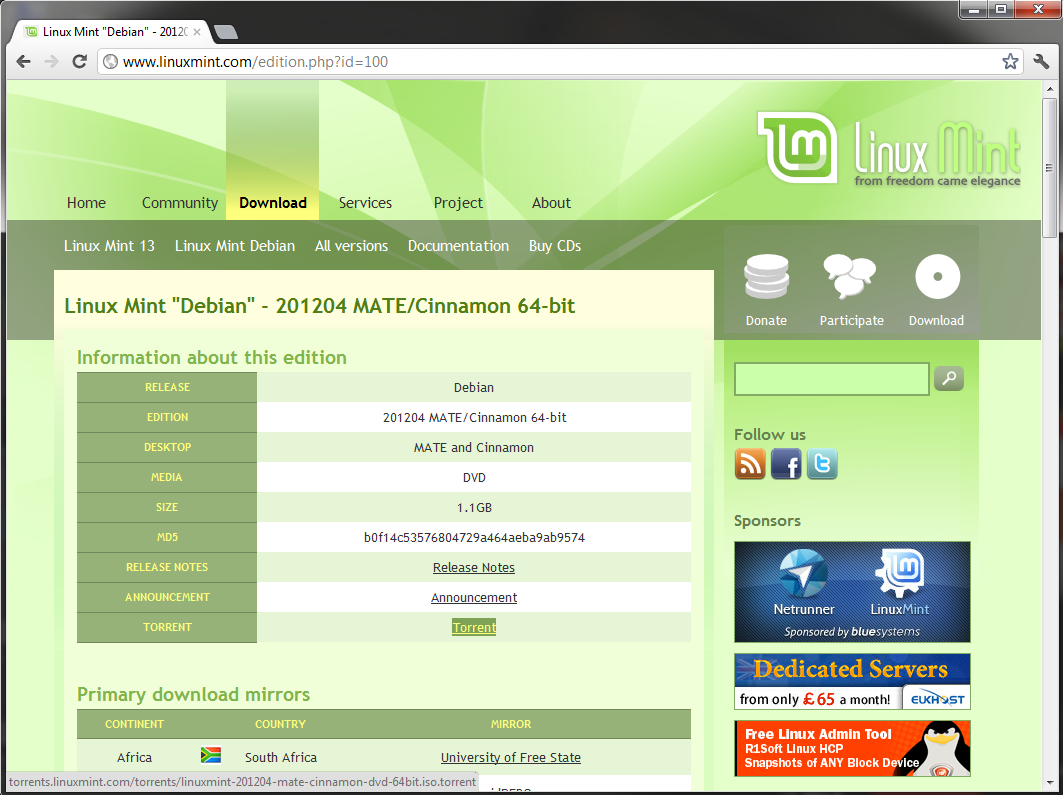
Choose a mirror to download.
With the iso file in hand, you can burn a CD or create a boot pendrive. My computer doesn't have an optical drive, so I'll need Unetbootin. A utility to create boot pendrives for installing Linux. There are versions for windows, linux and mac.
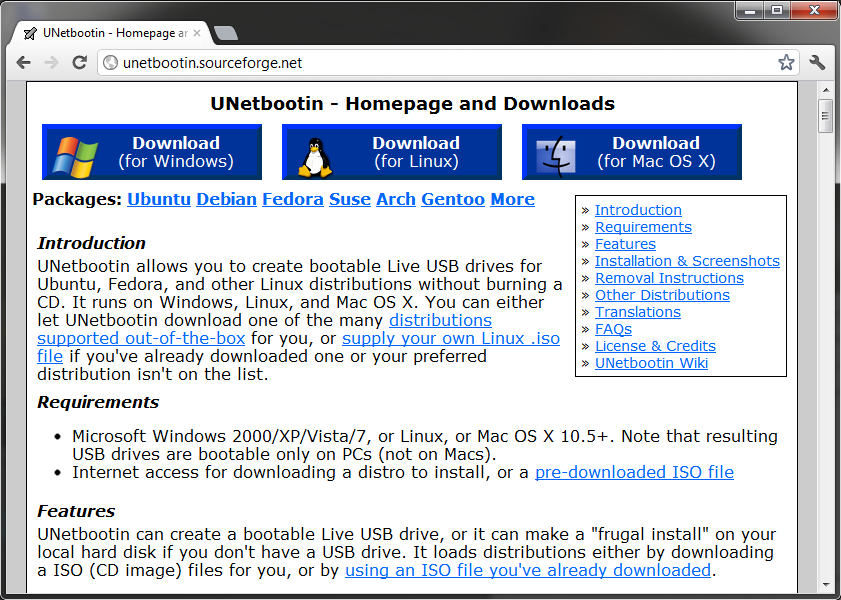
Downloading Unetbootin, a boot pendrive creator.
When you run Unetbootin, select "Disk image" ISO and, with the "…" button, navigate to the LMDE file you downloaded. Select the drive letter where the pendrive is inserted and click OK.
It's important to already have the pendrive formatted in Fat32 beforehand so this step completes successfully.
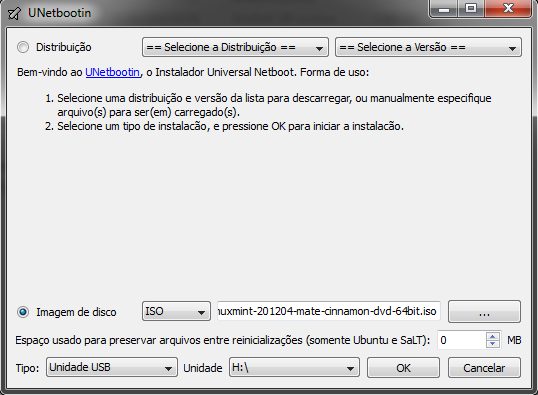
Preparing the pendrive for installation.
After creating the boot disk, insert it into your computer, enter the bios and select the boot order option for the correct pendrive or cd. This step is important and depends on each BIOS model, so it isn't described here.
When you turn on the computer with the boot disk inserted, the following screen will appear. Select default and press enter:
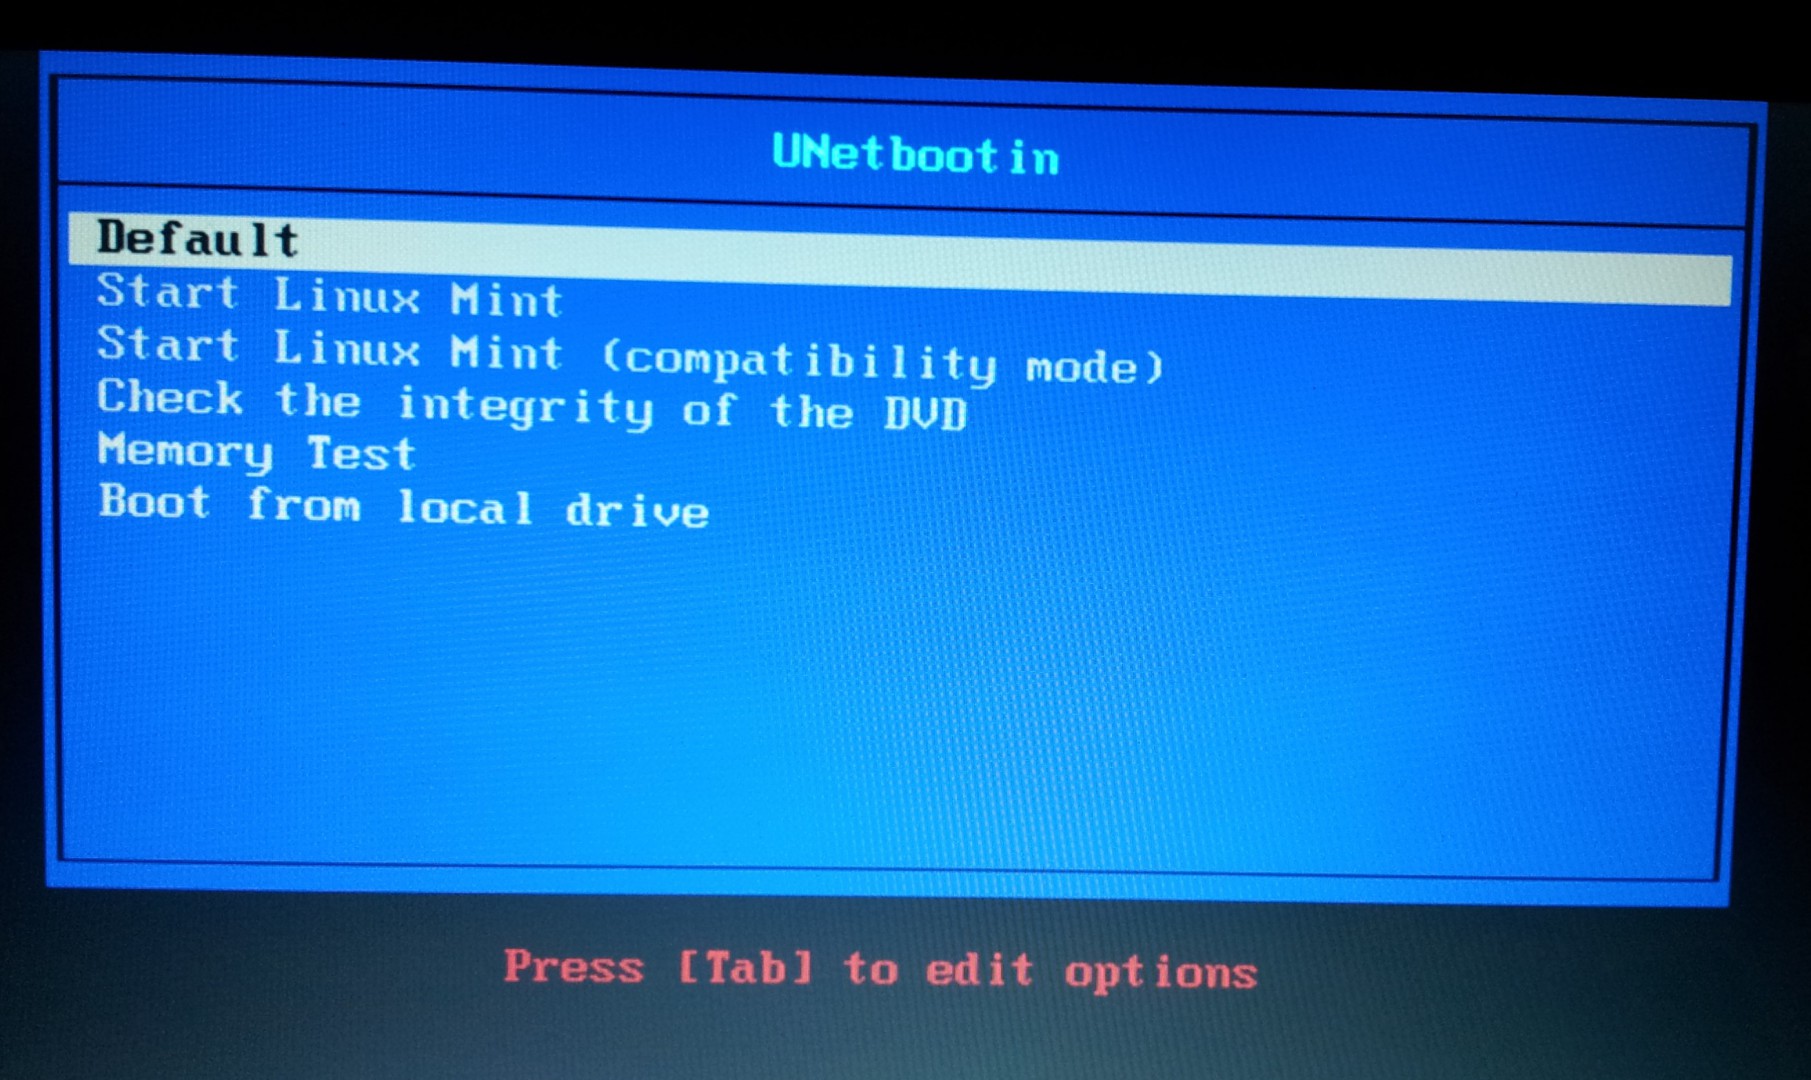
Grub boot menu with UnetBootin
The system will boot into the livecd and when it's ready, click the Install Linux Mint icon
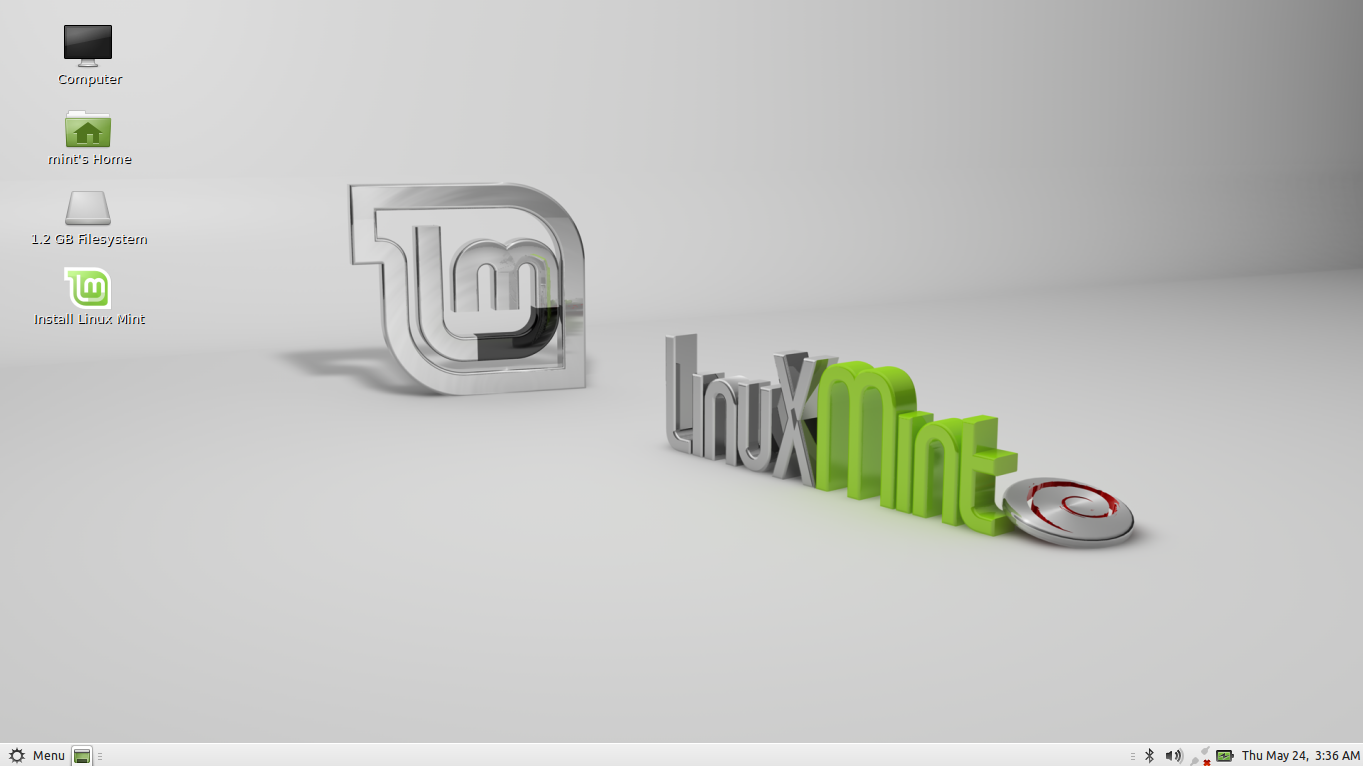
Install Linux Mint Debian Edition
Choose your language. I prefer Linux in English to make it easier to search for information on the internet, but you can choose whatever language you prefer.
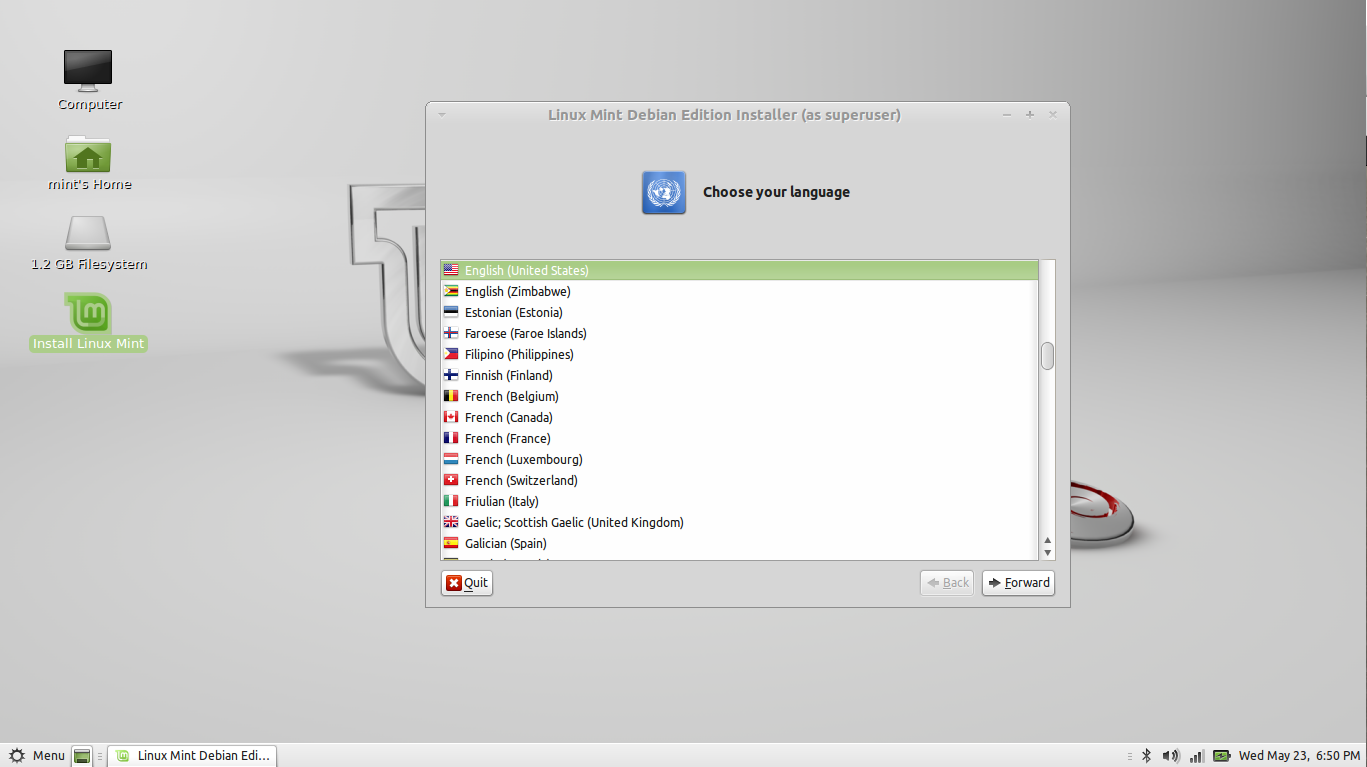
Language selection for installation
Choose your time zone:
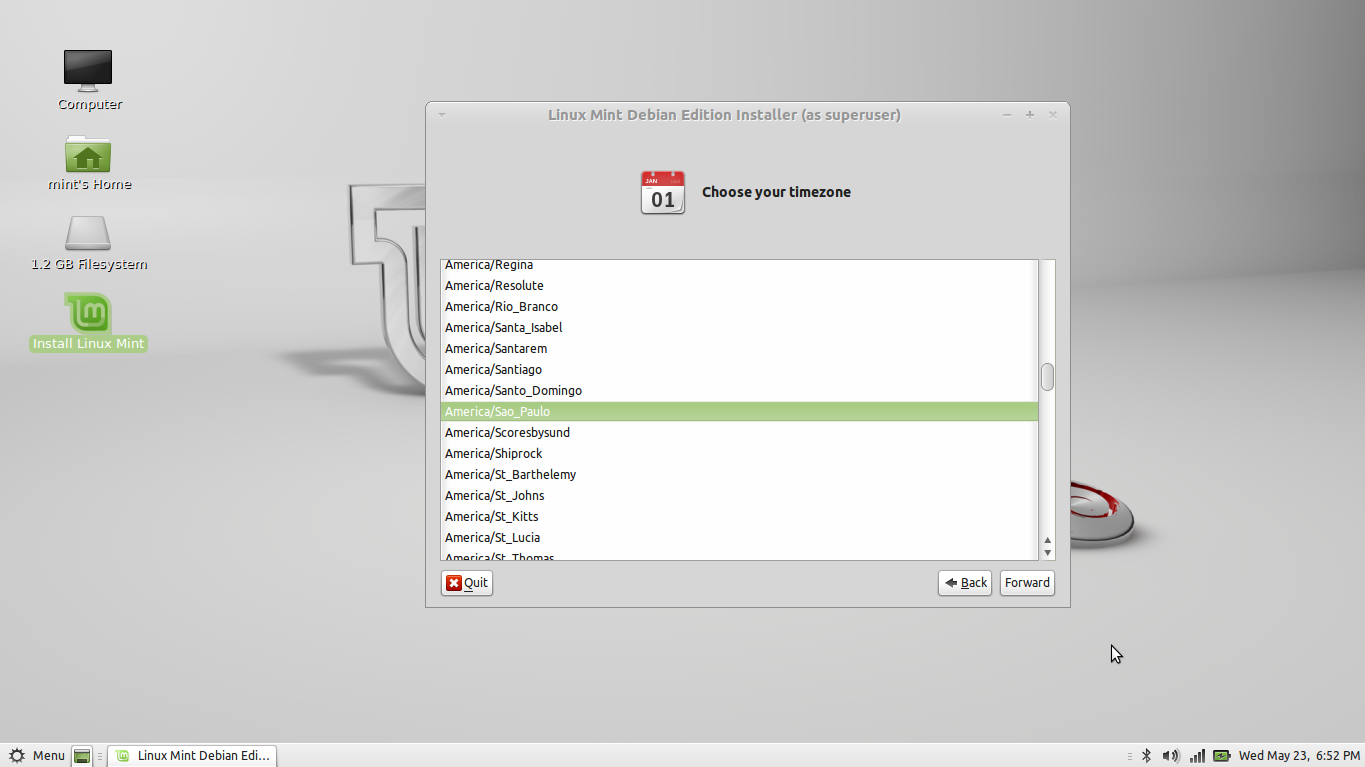
Choose your time zone.
Choose your keyboard layout. Keyboards with a cedilla are Portuguese (Brazil), and without a cedilla you can choose: United States – English International.
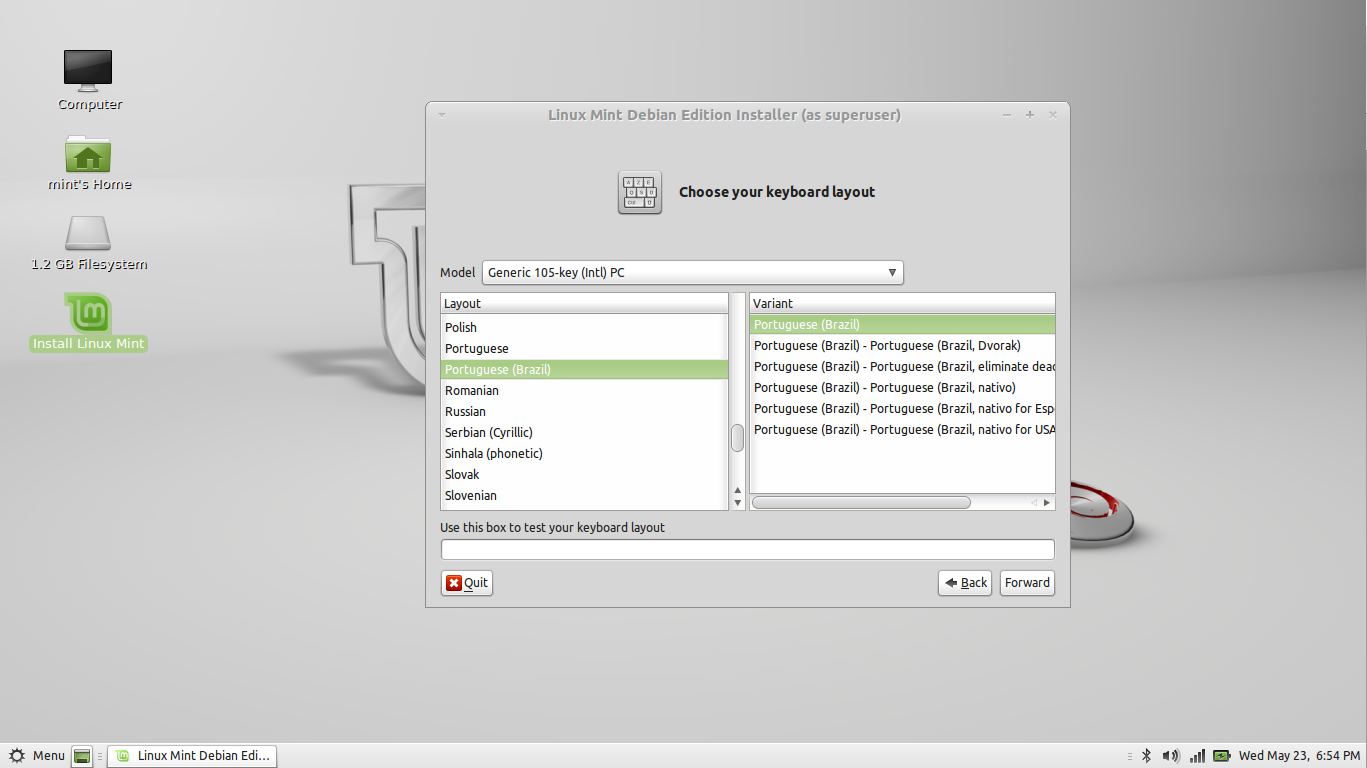
Choose the keyboard layout.
Select the HD where the system will be installed.
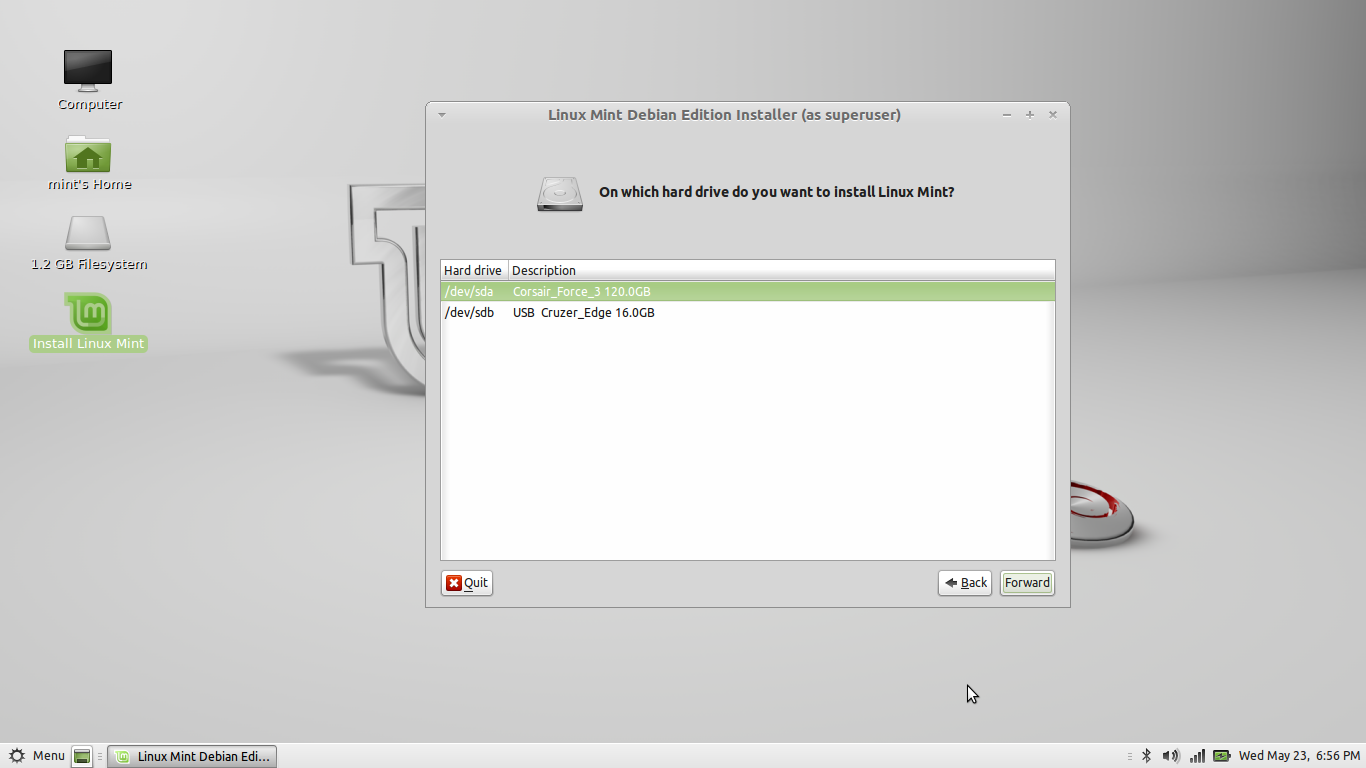
Choose the HD for installation
Select the partition where Linux will be installed. In my case the disk is empty, so the partitions will need to be created. Click Edit partitions.
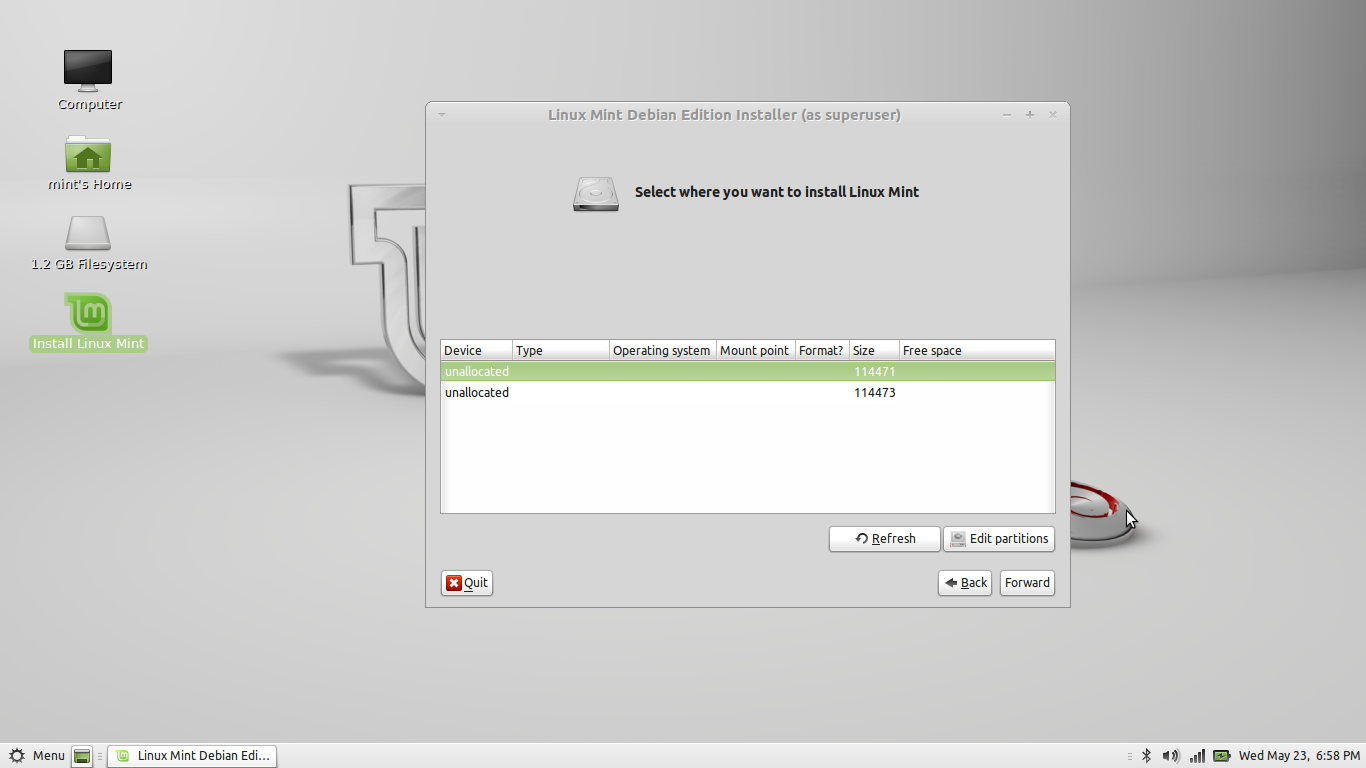
Selecting the partition for installation.
The Gparted screen will open. Click Partition -> New.
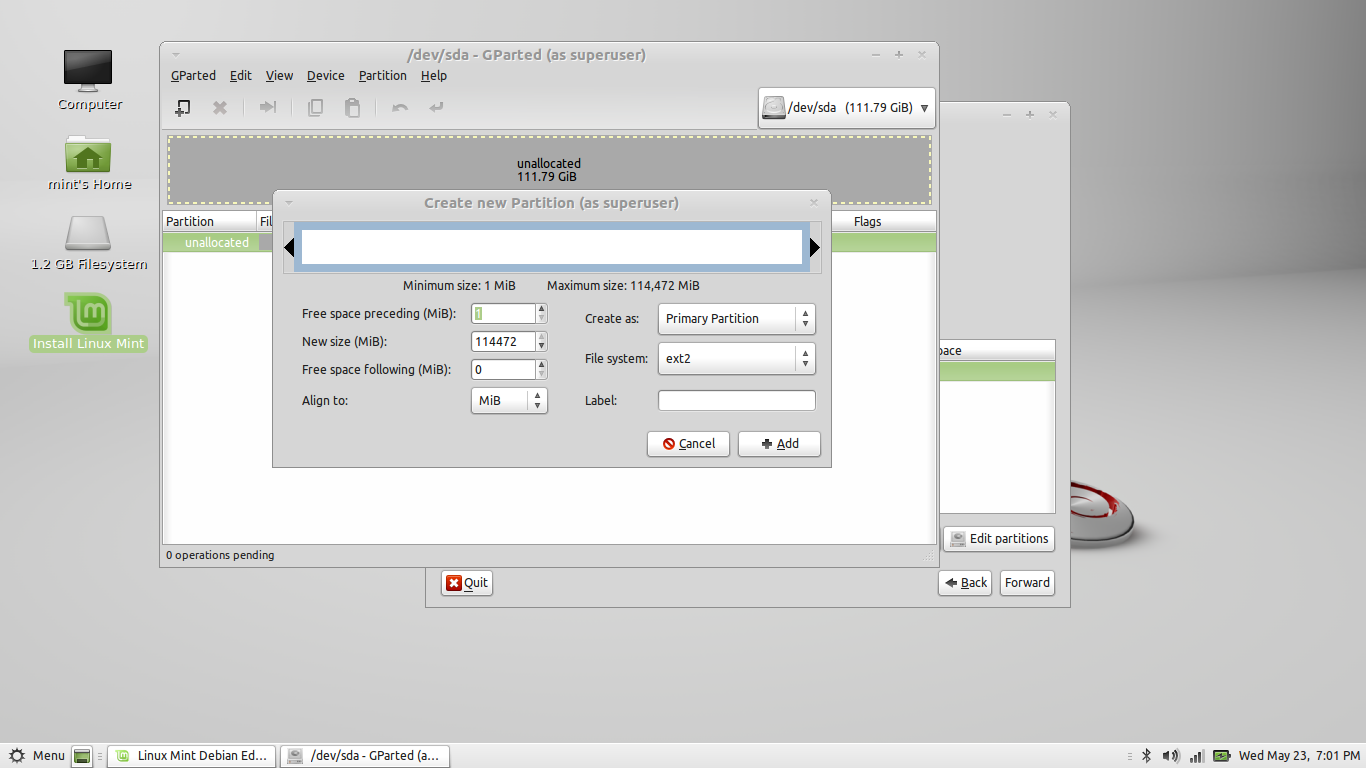
Creating the new partition.
In the Free space following (MiB) field, enter the size in megabytes that will be left on the disk after creating the first partition. Basically, you leave the free space that you'll use for the swap partition. In my case I'll use the same amount as the memory I have. There's probably no need for that much, but when in doubt it won't hurt. In File system, select ext4 and click Add.
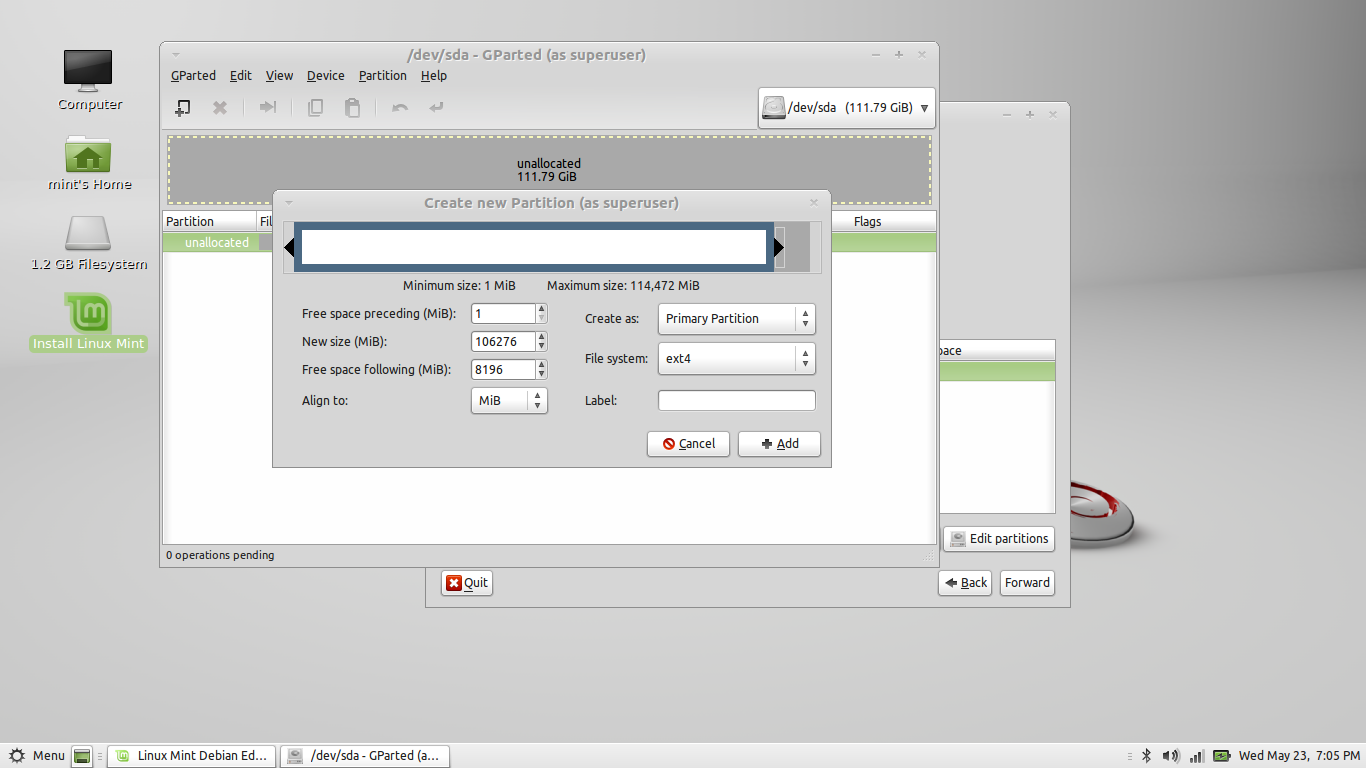
Leaving space for the swap partition.
Select the unallocated space, go to the Partition -> New menu. We'll use the rest for the swap partition. In File system, select linux-swap. Click Add.
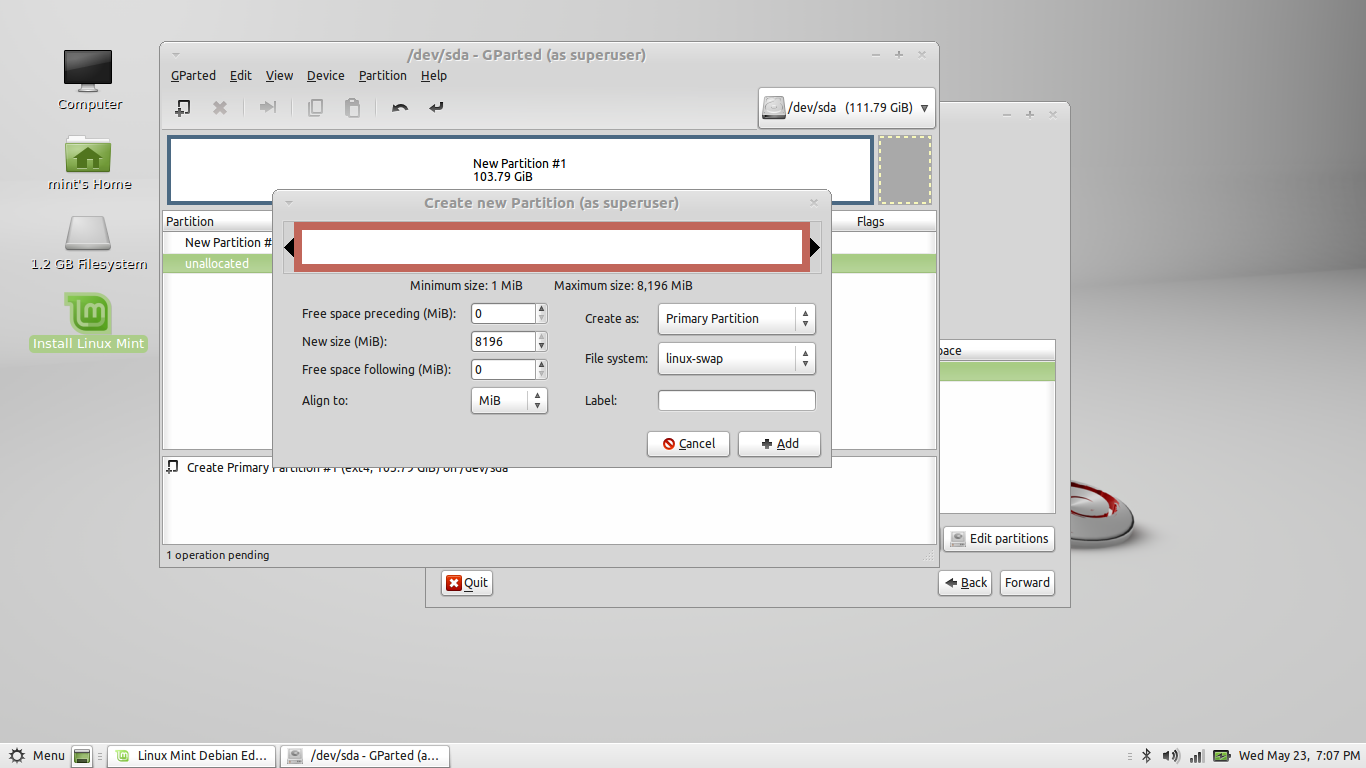
Creating the Swap partition.
Your disk will look like the figure below: Go to the Edit -> Apply All Operations menu.
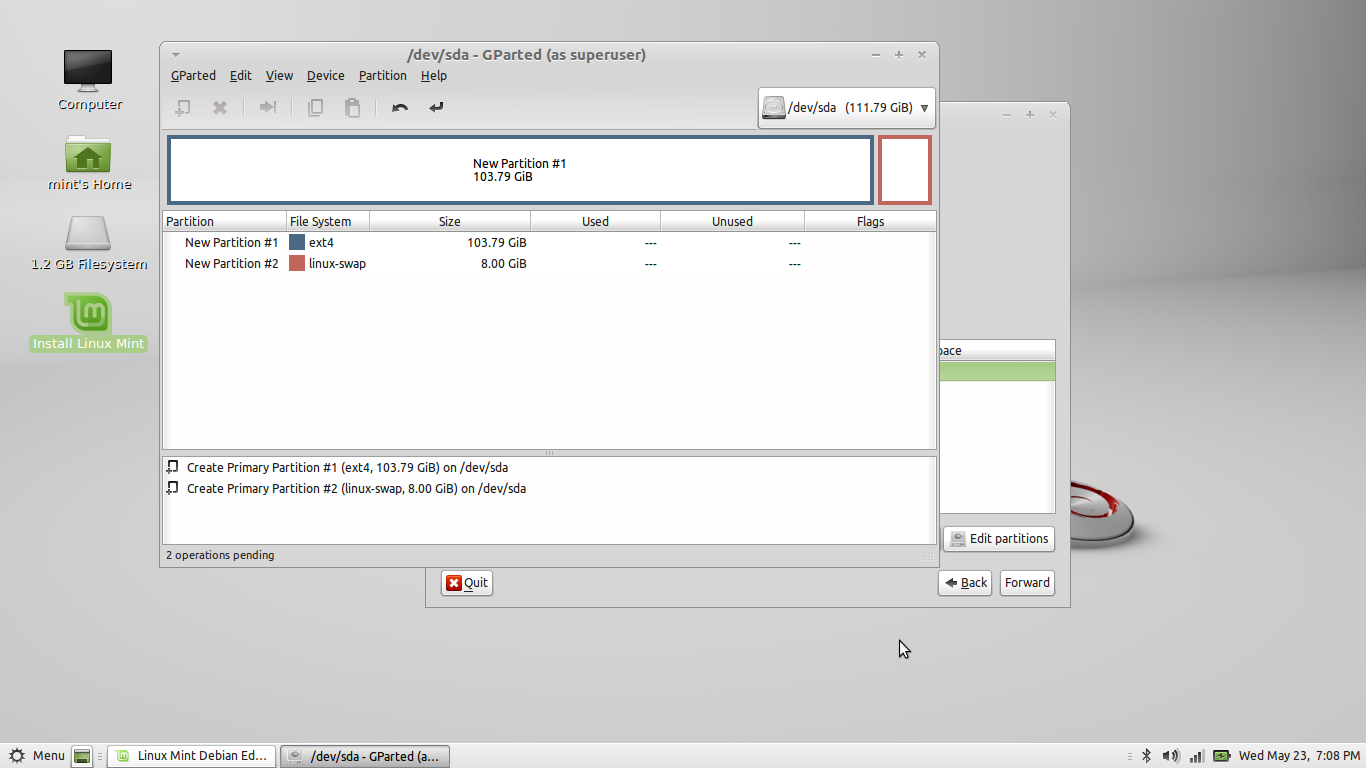
Partitioning result.
Confirm by clicking apply.
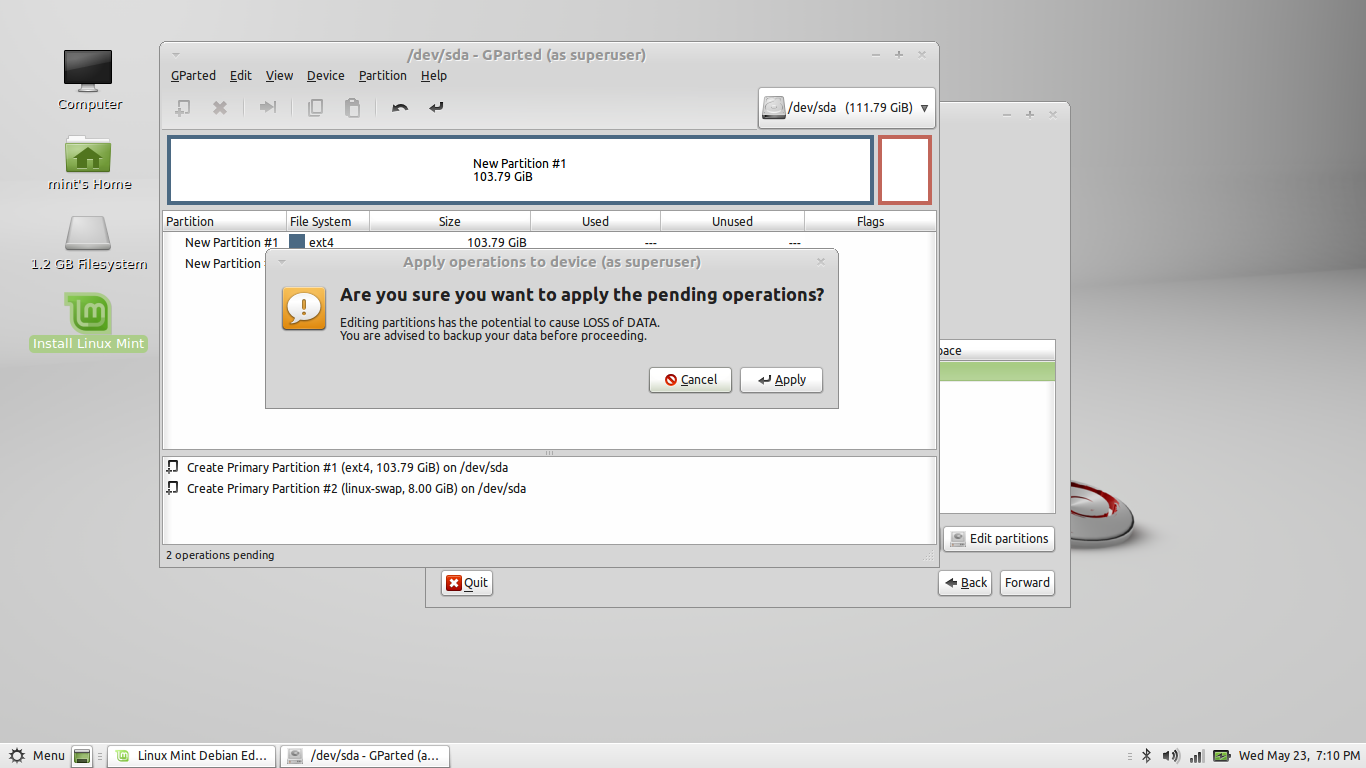
Confirming the changes.
The partitions will be created. Close the Gparted window and click the refresh button. The created partitions will appear in the Linux installer. Right-click the ext4 partition and select Assign to /. The mount point of the primary partition will be /. Click forward.
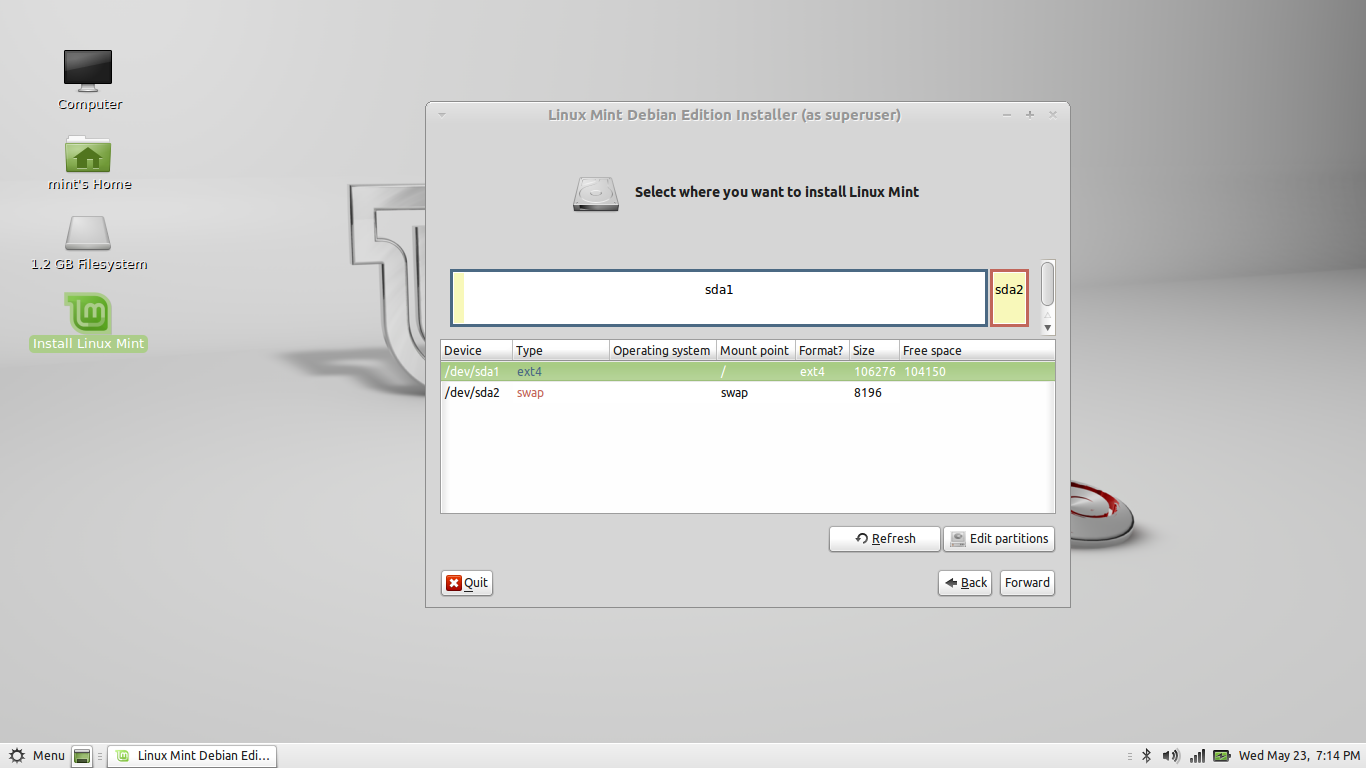
Setting the mount point.
Enter the requested information and the computer's name on the network (hostname).
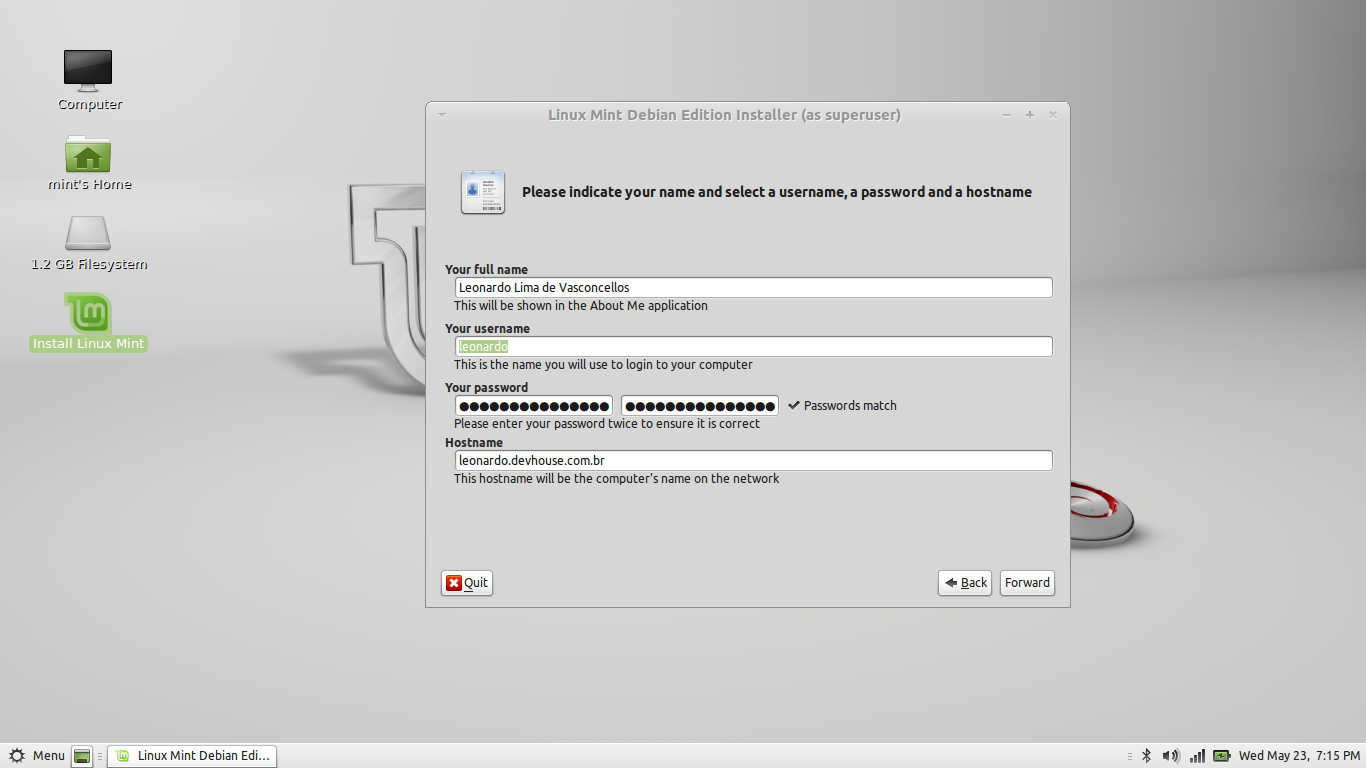
Username, password and hostname.
On the next screen, leave the default or choose a specific partition for Grub.
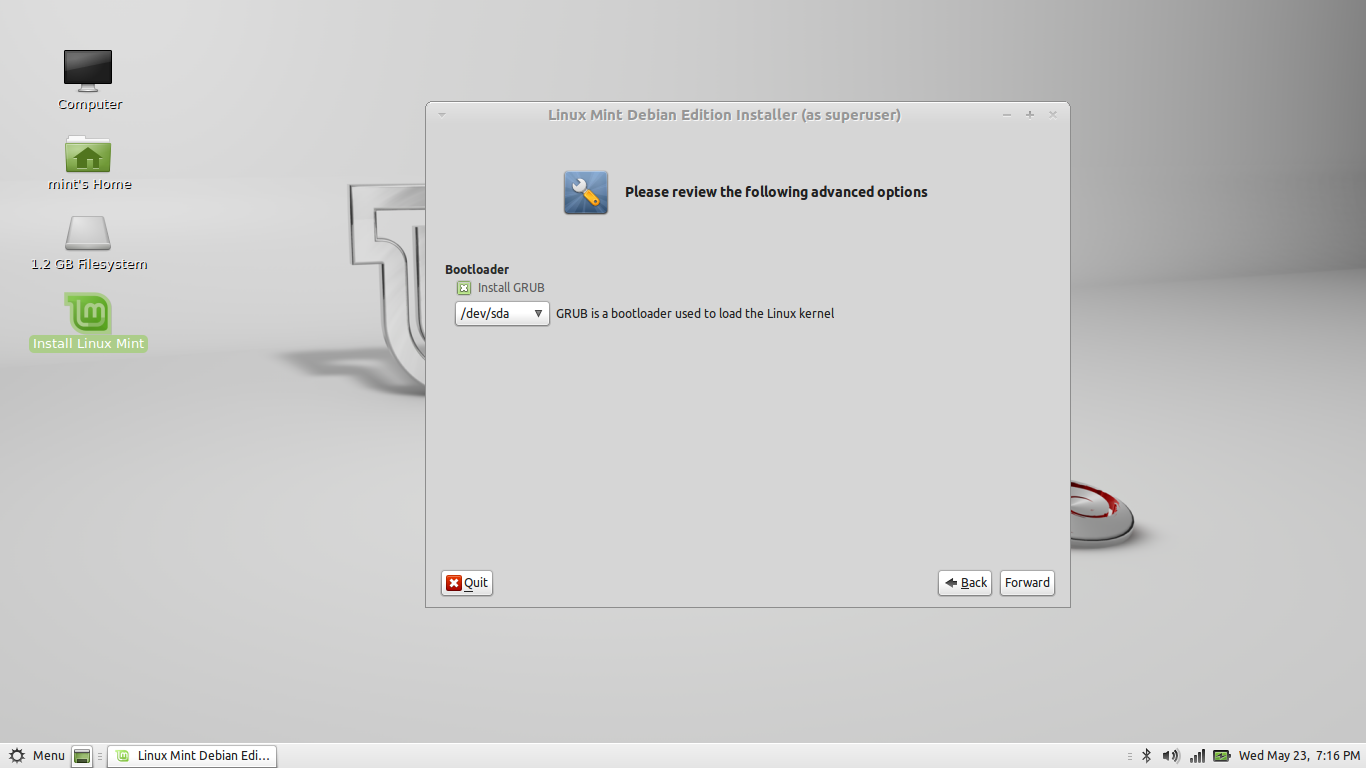
Where to install Grub?
Review the settings and click install.
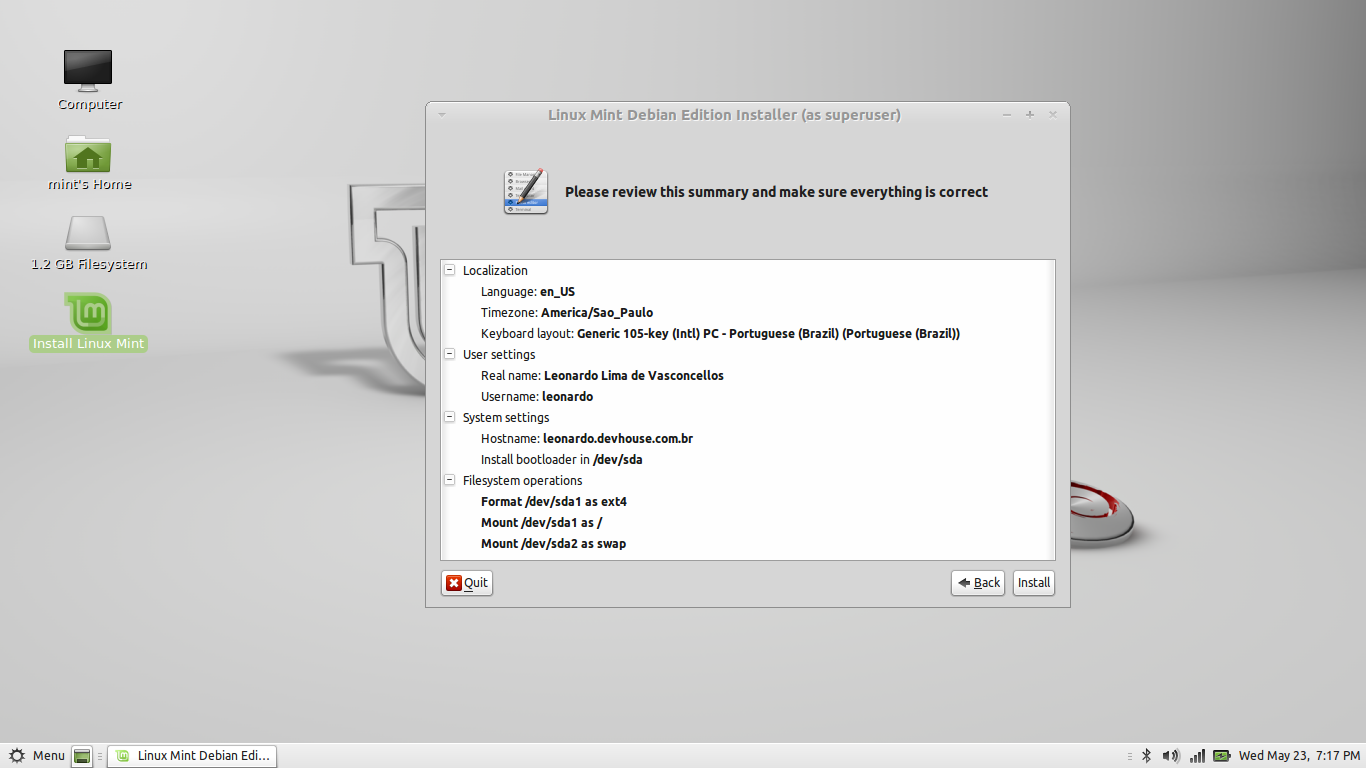
Reviewing the settings.
The installation and file copying process will start. Go grab a coffee and come back in a few minutes.
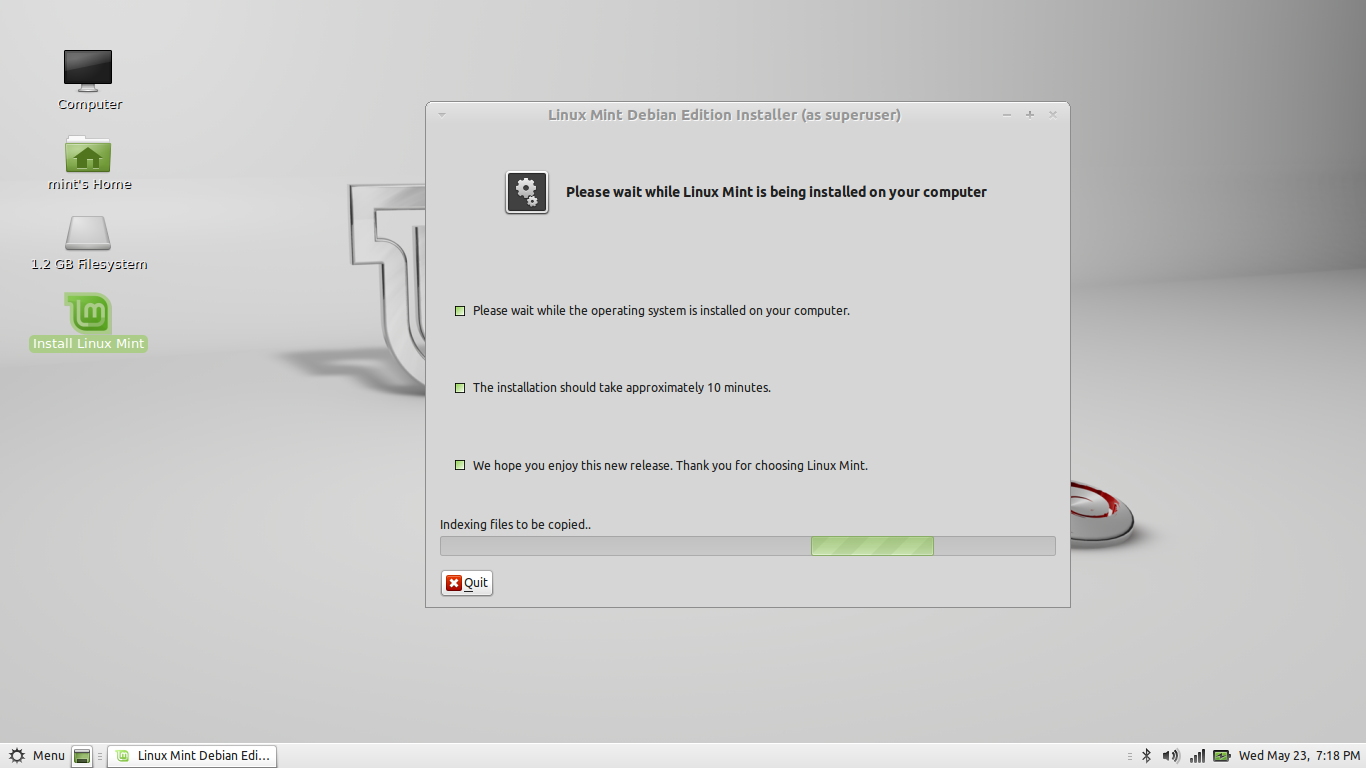
Copying the files.
When the installation finishes, click Quit and restart the computer. Don't forget to remove the pendrive.
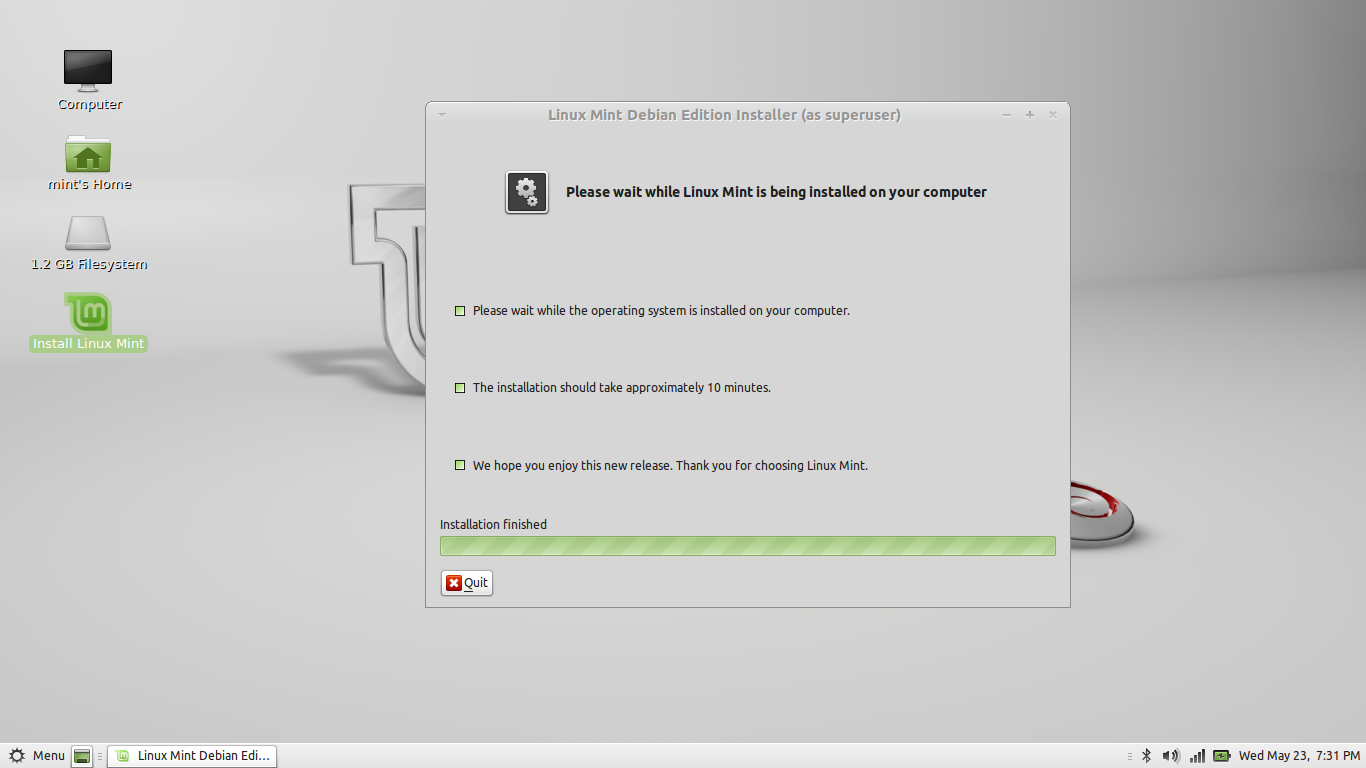
Done!
And that's all, folks! If you have any questions or comments, feel free to comment below:
Comments 7
Quero dizer Parabéns e Obrigado por esse passo-a-passo. Estou tendo problemas para instalar o LMDE 201204, e isso aqui será muito útil para ver se estou fazendo algo de errado.
Obrigado e ótima escolha de distro!
Oi, muito legal o tutorial mas a bara de carregamento na istalação esta parada e ja passram mais de 10 minutos, eu estou tentando instalar o LMDE 201204 Xfce
em um disco de aproximadamente 10GBs ( naverdade é uma partição 10GBs, o resto eu não quero mecher ).É assim mesmo ou tem algo errado?
Obrigado Garoto!!!
Valeu!
Amigo eu já tentei de todas as formas instalar dessa forma que você descreve no tutorial mais não consigo, eu chego na parte do grub e seleciono para iniciar o live, ele entra em uma tela preta e lá fica, já deixei ligado por 1 hora nessa tela e nada de entrar no live. Esse problema já aconteceu com alguém, existe uma solução, entrei no site do Mint e lá vi Comentários que pra instalar somente pelo drive de dvd pois o Mint havia tirado o suporte dessa distro para instalar via Pendrives.
Eu instalei o Linux Mint recentemente usando o unetbootin e funcionou bem. Você formatou o pendrive com FAT32? Eu já tive problemas com geradores de disco de boot. Você pode tentar outro programa também.